Carport Aufbau
Carport aufbauen - So geht's
So baust Du Dein KARIBU Carport selbst
Ein Carport ist nicht nur luftiger und preisgünstiger als eine Garage, sondern durch seine vergleichsweise einfache Konstruktion auch schneller und einfacher aufgebaut. Wir erklären die Montage eines Holzcarport-Bausatzes von KARIBU für Heimwerker:
Carport Bausatz selber aufbauen: Schritt für Schritt
Für eine visuelle Darstellung scrollen Sie weiter runter.
- Bestandteile des Sets prüfen: Lies die Aufbauanleitung vor der Montage vollständig durch und überprüfe Deinen Bausatz auf Vollständigkeit.
- Ebene Fläche als Bauplatz: Stelle sicher, dass der Untergrund, auf dem Du Dein Carport aufbauen möchtest, eben ist.
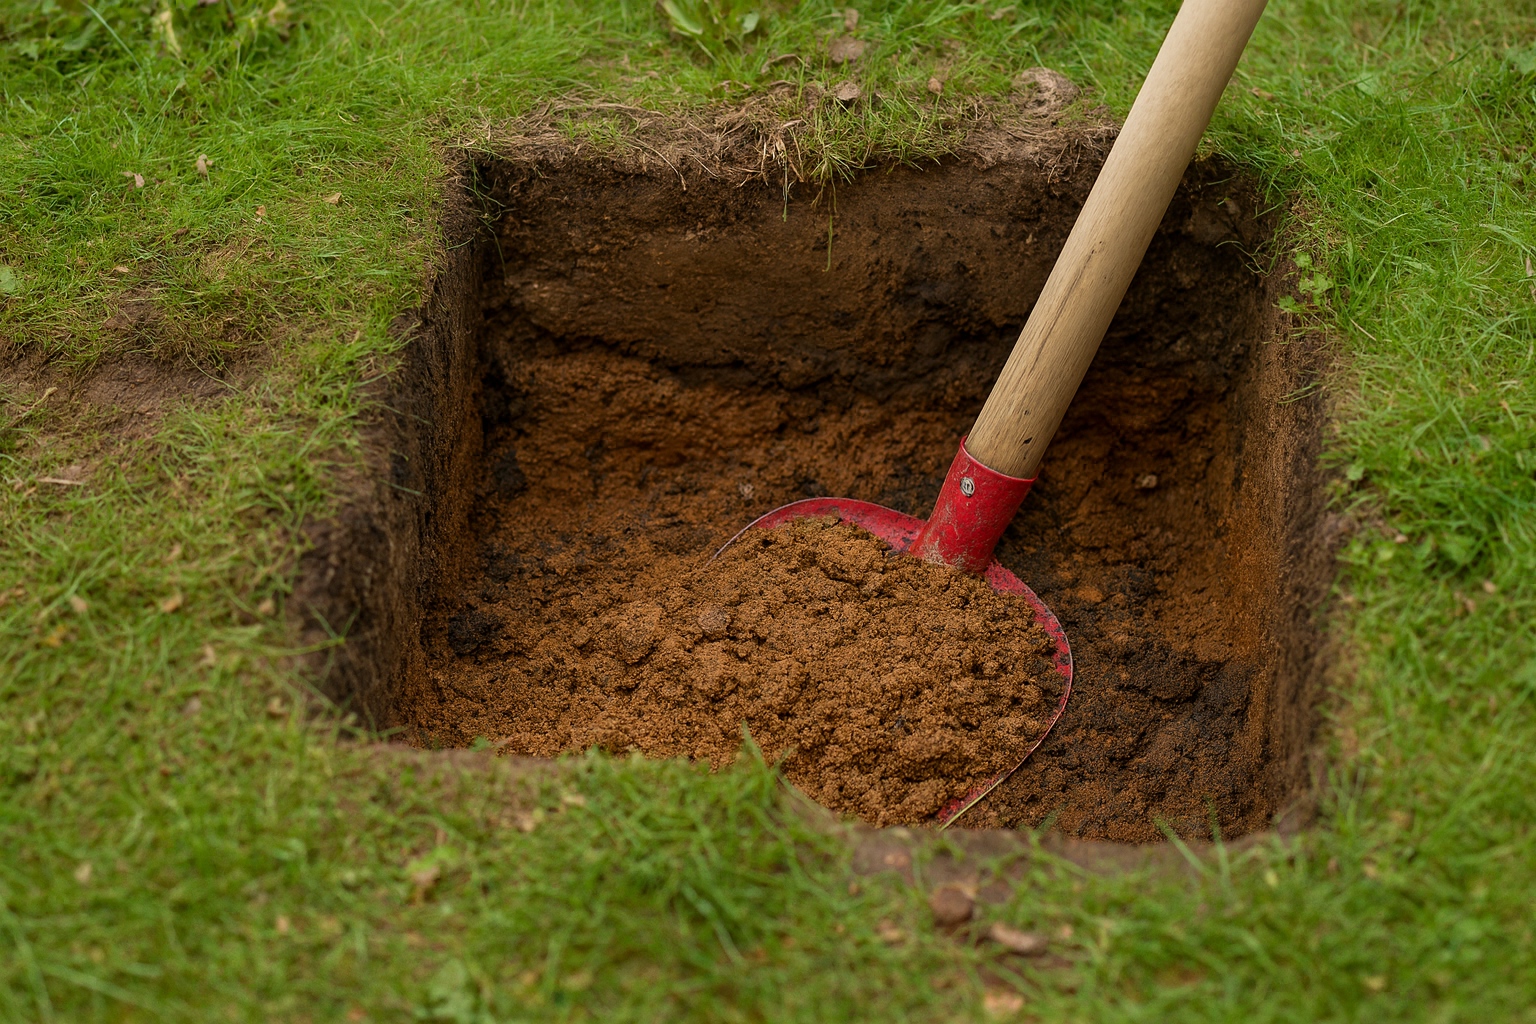
- Punktfundament und H-Pfostenanker für gute Stabilität: Grabe 80 Zentimeter tiefe Fundamentlöcher für die Pfosten. Diese sollten etwa 40x40 Zentimeter groß sein.
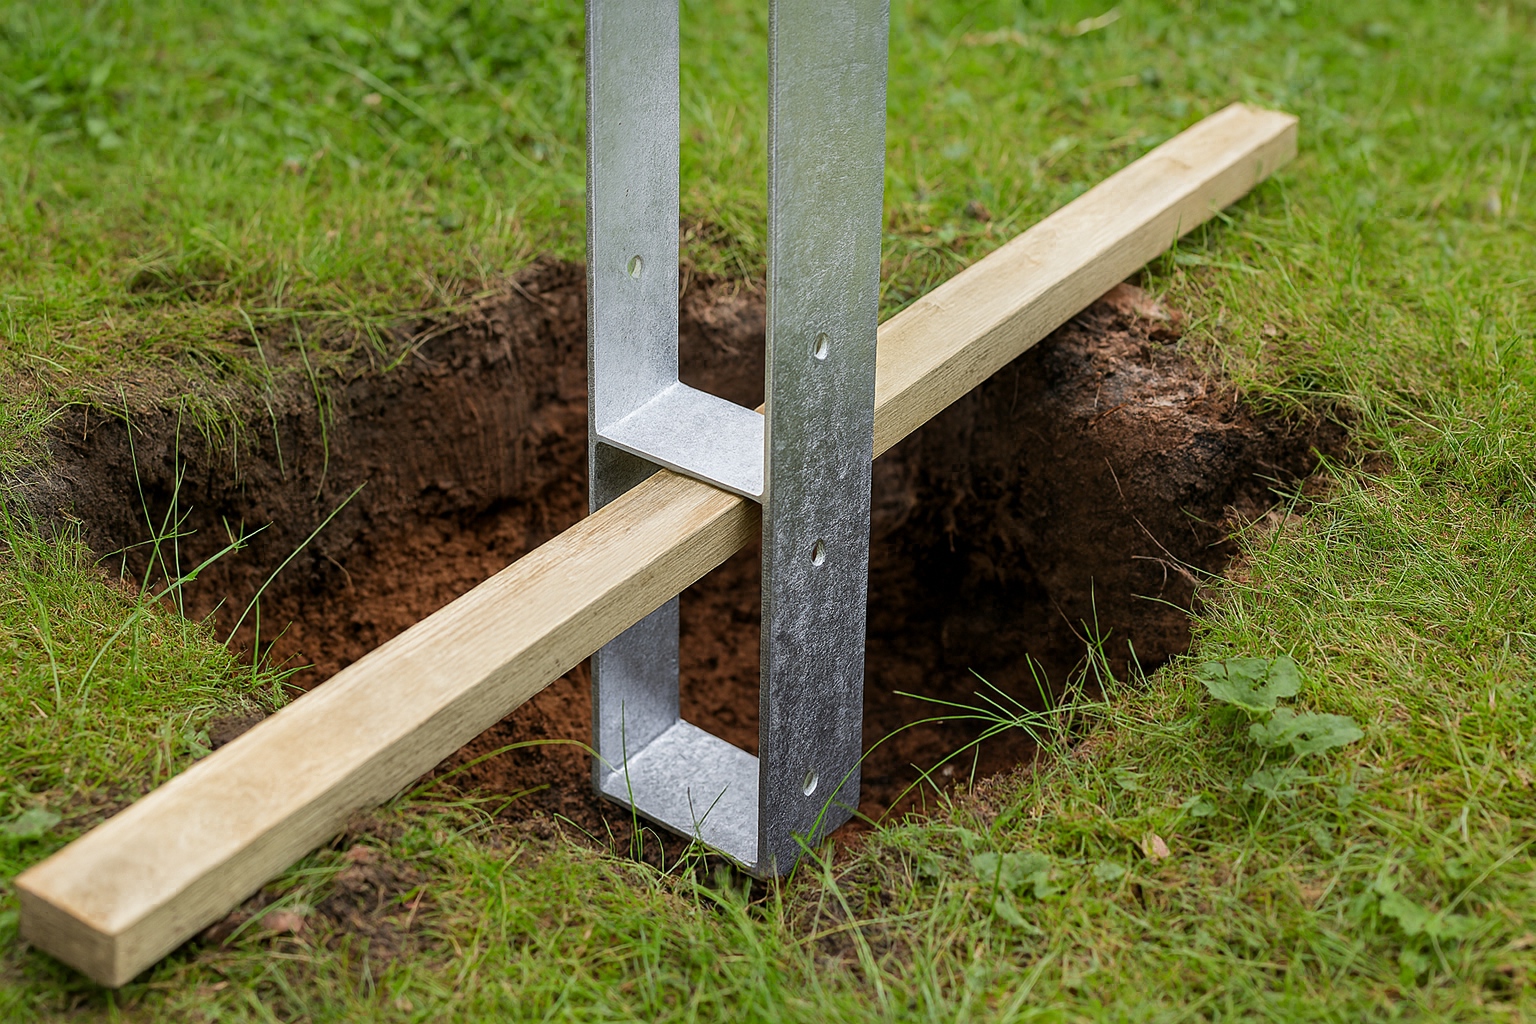
- H-Anker fixieren: Hänge die H-Pfostenanker (nicht im Lieferumfang von KARIBU enthalten) in die zugehörigen Löcher ein und fixiere diese mit Latten.
- Pfosten einsetzen: Setze die Pfosten des Carports in die H-Anker ein und befestige diese mittels Schraubzwingen.
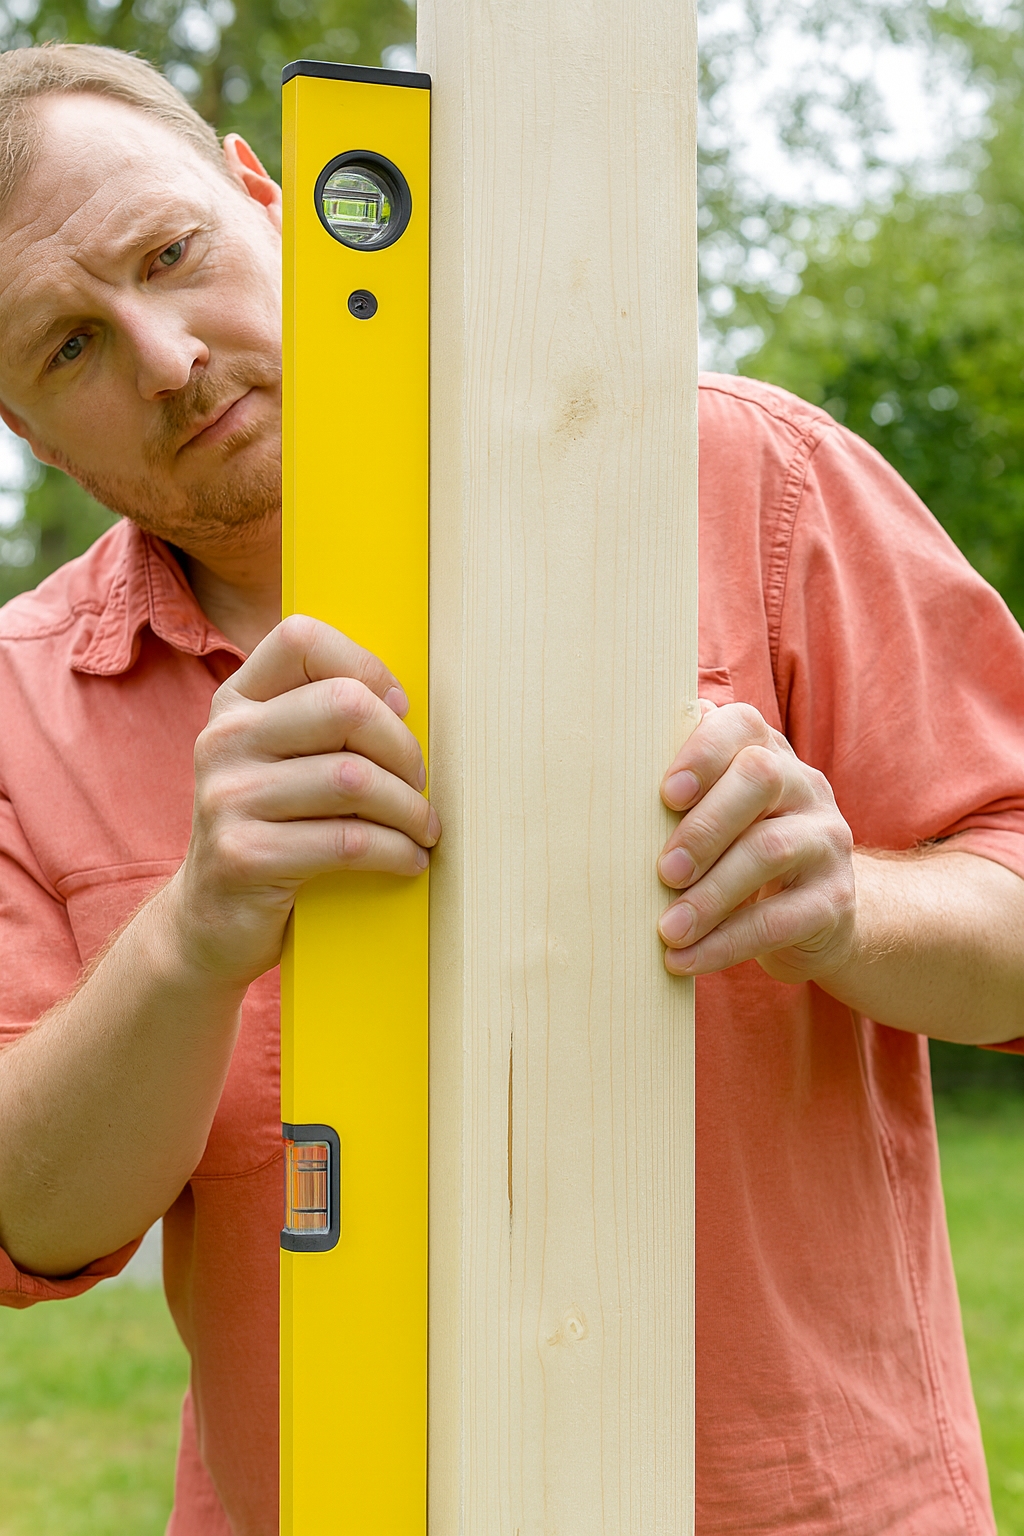
- Stand der H-Anker und Pfosten überprüfen: Prüfe mit einer Wasserwaage die Abstände, Lotrichtigkeit und die Höhe der Pfosten. Anschließend verschraube die Pfosten mit den H-Ankern.
- Pfetten befestigen: Schraube die Pfetten zusammen und setze diese auf die Pfosten auf. Um die Teile miteinander zu verbinden, bohre vor und verschraube sie.
- Kopfbänder montieren: Verschraube die Kopfbänder zur Stabilität mit den Pfosten und Pfetten.
- Sparren aufsetzen: Setze die Sparren auf und verschraube diese mithilfe der mitgelieferten Winkel auf beiden Seiten. Beginne jeweils mit den äußeren Sparren und arbeite Dich bis zur Mitte vor.
- Konstruktion vor Sturm sichern: Verschraube diagonal das mitgelieferte Metallband mit den Sparren.
- Abschlussblenden anbringen: Befestige die Abschlussblenden vorne und an den Seiten - diese werden bündig an den Pfetten montiert.
- Dachplatten befestigen: Richte die Dachplatten aus, das heißt, verteile diese überlappend auf der Dachfläche des Carports. Bohre die Löcher für die Befestigung vor und montiere die Dachplatten mithilfe von Spenglerschrauben.
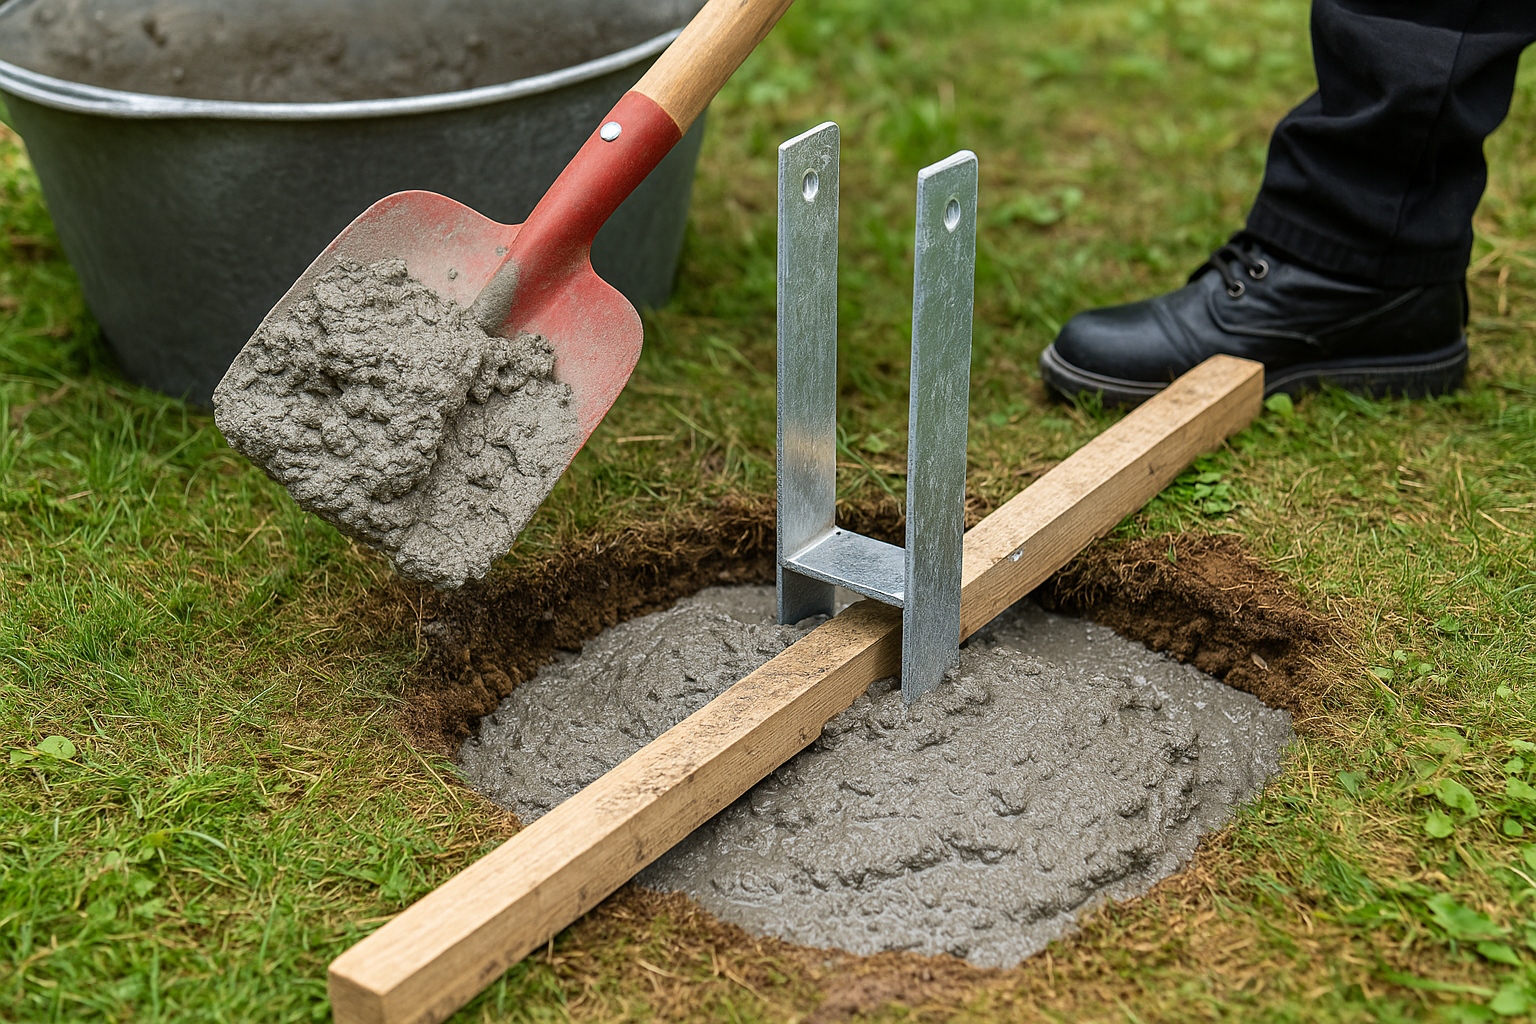
- Betoniere die Fundamente zu: Ist Dein Carport fertig aufgebaut, kannst Du die Punktfundamente zubetonieren. Wenn der Beton ausgehärtet ist, können die Vertretungen entfernt werden. Dies dauert in etwa zwei Tage.
Tipp: Bestelle unsere Dachrinnensets für Carport gleich mit und stelle so sicher, dass das Regenwasser optimal abgeleitet wird und Dein Carport keine Wasserschäden nehmen kann. Außerdem bieten wir weiteres Zubehör wie Seitenwände oder Geräteräume.
Achtung: Bitte besorge unbedingt H-Pfostenanker vor dem Aufbau des Carports. Diese verschaffen den Pfosten Ihres Carports nicht nur einen besonders festen Halt, sondern schützen das Holz vor Fäulnis, da sie einen einen Abstand zum feuchten Boden gewährleisten und Erdkontakt so vermeiden.
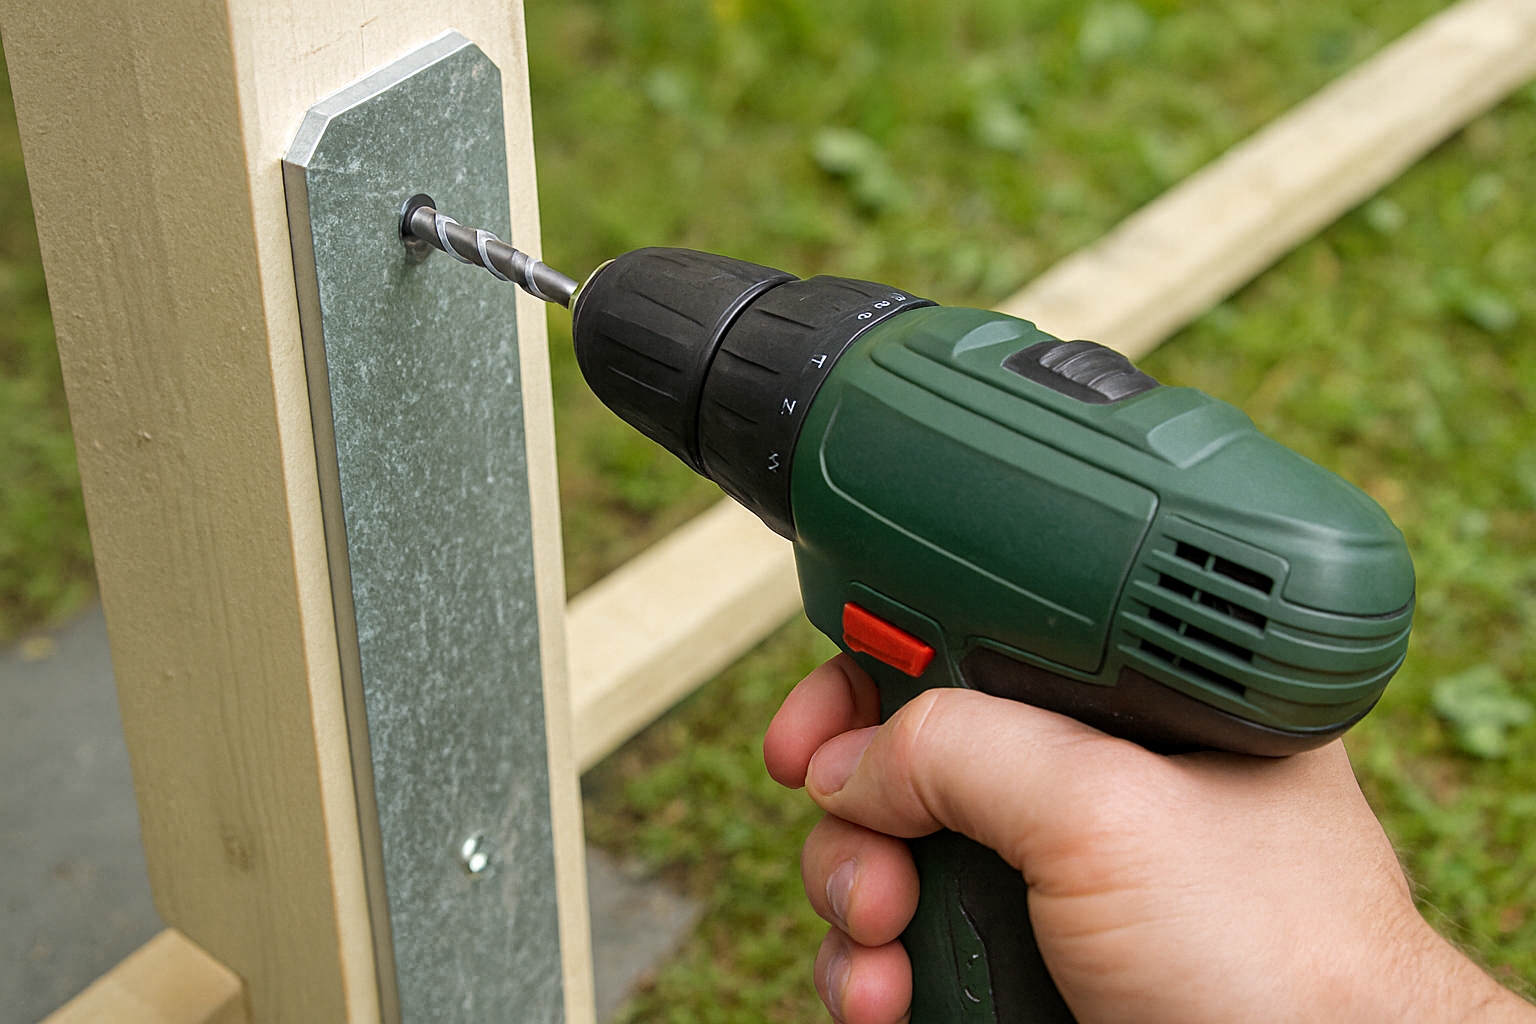
H-Pfostenanker richtig installieren: Anleitung für dein KARIBU Carport inkl. Bilder
Schritt 1:
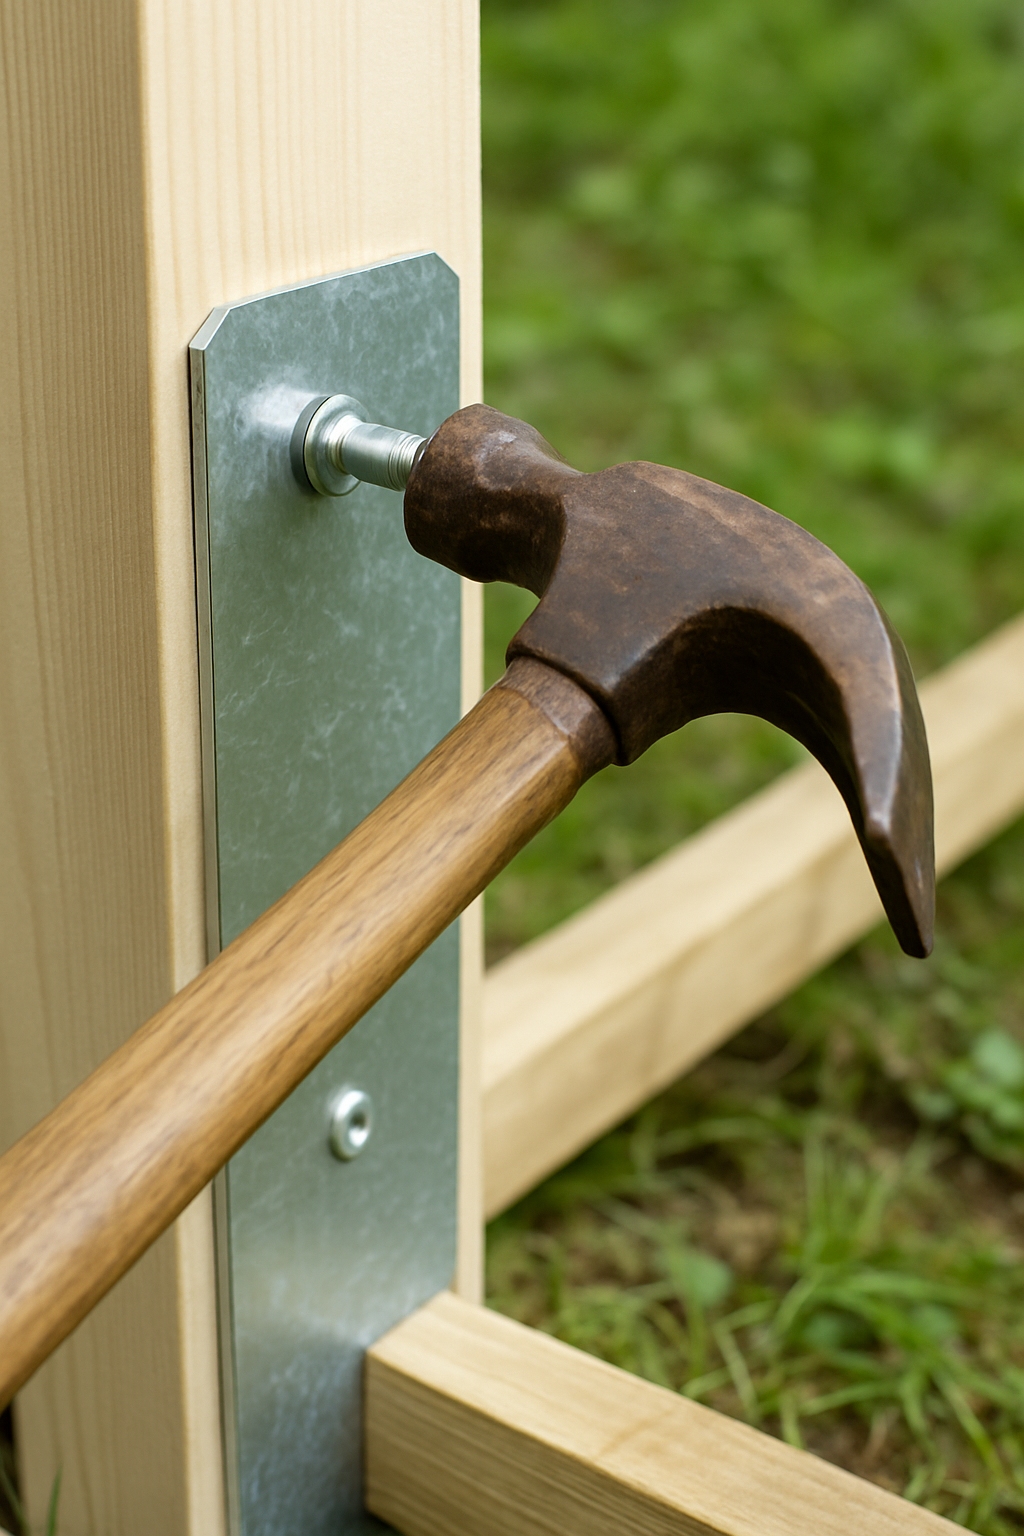
Schritt 2:
Schritt 3:
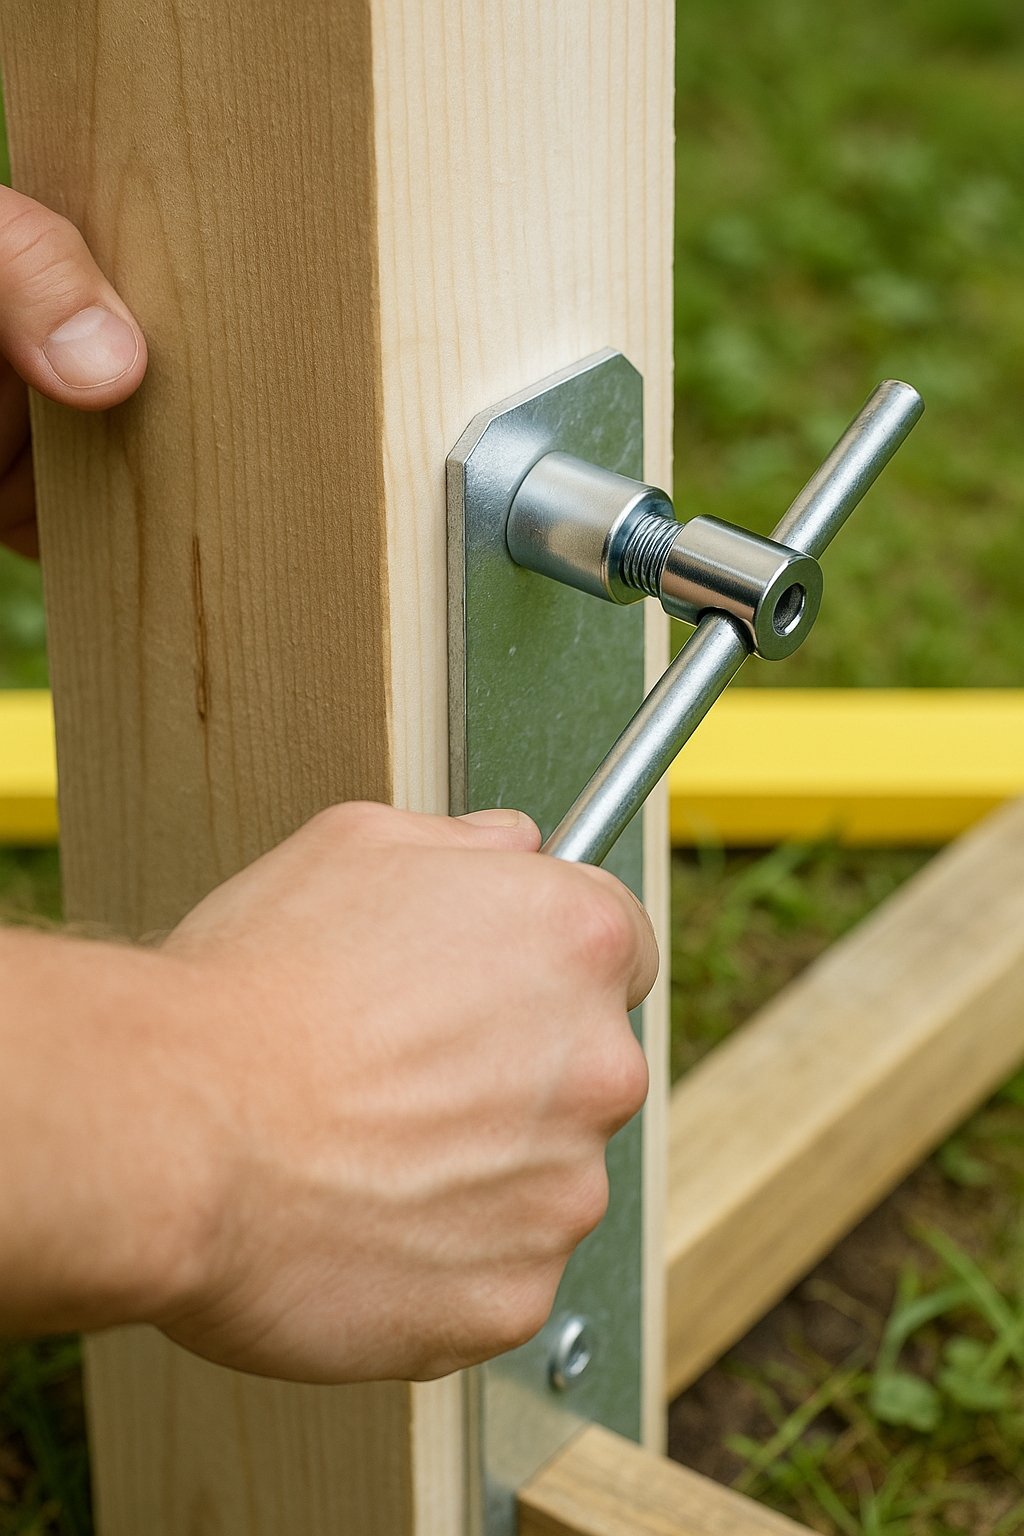
Schritt 4:
Schritt 5:
Schritt 6:
Schritt 7: